Inverno Framework Getting Started Guide
Author: Jeremy Kuhn
What you'll learn
This guide provides insights into how to create an Inverno application that exposes a simple Hello World HTTP endpoint.
We will guide you through creating a Maven project, creating the Inverno module for the application, writing the HTTP endpoint, running the application and finally packaging the application into an optimized runtime image.
Step 1: Create an Inverno project
The creation of a Maven project set up with the Inverno distribution should always be the first thing to do when developing an Inverno component or application.
You can start by creating a regular Maven Java project with groupId io.inverno.guide and artifactId getting-started using your IDE, the Maven quickstart archetype or manually using the text editor of your choice. Whatever you choose, you should end up with a project folder with the following file structure as generated by the Maven quickstart archetype:
├── pom.xml
└── src
    └── main
        └── java
            └── io
                └── inverno
                    └── guide
                        └── getting_started
                            └── App.java
You can now set up the pom.xml build descriptor with the Inverno distribution by defining a <parent/> section pointing to io.inverno.dist:inverno-parent:1.13.0 parent pom:
<?xml version="1.0" encoding="UTF-8"?>
<project xmlns="http://maven.apache.org/POM/4.0.0" xmlns:xsi="http://www.w3.org/2001/XMLSchema-instance"
    xsi:schemaLocation="http://maven.apache.org/POM/4.0.0 http://maven.apache.org/xsd/maven-4.0.0.xsd">
    <modelVersion>4.0.0</modelVersion>
    <parent>
        <groupId>io.inverno.dist</groupId>
        <artifactId>inverno-parent</artifactId>
        <version>1.13.0</version>
    </parent>
    <groupId>io.inverno.guide</groupId>
    <artifactId>getting-started</artifactId>
    <version>1.0-SNAPSHOT</version>

</project>
Then you must declare dependencies to Inverno boot and web modules since you want to create a Web application. The boot module provides common services, it should be included in any Inverno application. The web module provides the Web server and APIs for creating HTTP endpoints.
<?xml version="1.0" encoding="UTF-8"?>
<project xmlns="http://maven.apache.org/POM/4.0.0" xmlns:xsi="http://www.w3.org/2001/XMLSchema-instance"
    xsi:schemaLocation="http://maven.apache.org/POM/4.0.0 http://maven.apache.org/xsd/maven-4.0.0.xsd">
    <modelVersion>4.0.0</modelVersion>
    <parent>
        <groupId>io.inverno.dist</groupId>
        <artifactId>inverno-parent</artifactId>
        <version>1.13.0</version>
    </parent>
    <groupId>io.inverno.guide</groupId>
    <artifactId>getting-started</artifactId>
    <version>1.0-SNAPSHOT</version>

    <dependencies>
        <dependency>
            <groupId>io.inverno.mod</groupId>
            <artifactId>inverno-boot</artifactId>
        </dependency>
        <dependency>
            <groupId>io.inverno.mod</groupId>
            <artifactId>inverno-web-server</artifactId>
        </dependency>
    </dependencies>
</project>
Congratulations! you have just created a new Inverno project.
Step 2: Create the Java module
An Inverno component or application is a regular Java module annotated with @io.inverno.core.annotation.Module. Open up the project in your IDE and create file src/main/java/module-info.java. In this module descriptor, you need to declare the modules required by your application, namely io.inverno.mod.boot and io.inverno.mod.web.server modules:
@io.inverno.core.annotation.Module
module io.inverno.guide.getting_started {
    requires io.inverno.mod.boot;
    requires io.inverno.mod.web.server;
}
At compile time, the Inverno compiler will assemble the boot and web modules together with your application module and generate a module class. This class contains all the IoC/DI logic required to bootstrap your application.
Step 3: Add the code
In your IDE, open the src/main/java/io/inverno/guide/getting_started/App.java and change the contents in order to create an Inverno Web application:
package io.inverno.guide.getting_started;

import io.inverno.core.annotation.Bean;
import io.inverno.core.v1.Application;
import io.inverno.mod.base.resource.MediaTypes;
import io.inverno.mod.web.base.annotation.QueryParam;
import io.inverno.mod.web.server.annotation.WebController;
import io.inverno.mod.web.server.annotation.WebRoute;

import java.util.Optional;

@Bean
@WebController
public class App {

    @WebRoute( path = "/hello" )
    public String hello(@QueryParam Optional<String> name) {
        return String.format("Hello, %s!", name.orElse("world"));
    }

    public static void main(String[] args) {
        Application.run(new Getting_started.Builder());
    }
}
The @Bean annotation tells the Inverno compiler that the App class is a bean participating in IoC/DI. The @WebController annotation indicates that the bean is also a Web controller defining Web routes.
The hello() method annotated with @WebRoute( path = "/hello") defines a Web route which is invoked when an HTTP request is sent to http://localhost:8080/hello location. The @QueryParam annotation indicates that the route accept a query parameter named after the annotated method parameter name. This query parameter is optional since the method parameter is of type Optional<String>.
Finally, the application is started in the main() method using the Helloworld module class generated by the Inverno compiler.
The Inverno compiler generates module class
io.inverno.guide.getting_started.Getting_startedwhen the project is compiled (e.g.mvn compile), you might want to configure your IDE to make the generated code visible and get rid of the compilation error reported in themain()method by adding foldertarget/generated-sources/annotationsto the project build path. In Eclipse, you can do that in the project properties > Source > Add Folder...
Step 4: Run the application
You are now ready to build and run the application, open a terminal, go to the project folder and simply execute the following command:
$ mvn inverno:run
You should see an output similar to the following:
[INFO] --- inverno-maven-plugin:1.6.0:run (default-cli) @ getting-started ---
 [═══════════════════════════════════════════════ 100 % ══════════════════════════════════════════════] Running project io.inverno.guide.getting_started@1.0-SNAPSHOT...
ERROR StatusLogger Log4j2 could not find a logging implementation. Please add log4j-core to the classpath. Using SimpleLogger to log to the console...
INFO Application Inverno is starting...


     ╔════════════════════════════════════════════════════════════════════════════════════════════╗
     ║                      , ~~ ,                                                                ║
     ║                  , '   /\   ' ,                                                            ║
     ║                 , __   \/   __ ,      _                                                    ║
     ║                ,  \_\_\/\/_/_/  ,    | |  ___  _    _  ___   __  ___   ___                 ║
     ║                ,    _\_\/_/_    ,    | | / _ \\ \  / // _ \ / _|/ _ \ / _ \                ║
     ║                ,   __\_/\_\__   ,    | || | | |\ \/ /|  __/| | | | | | |_| |               ║
     ║                 , /_/ /\/\ \_\ ,     |_||_| |_| \__/  \___||_| |_| |_|\___/                ║
     ║                  ,     /\     ,                                                            ║
     ║                    ,   \/   ,                                 -- 1.6.0 --                  ║
     ║                      ' -- '                                                                ║
     ╠════════════════════════════════════════════════════════════════════════════════════════════╣
     ║ Java runtime        : OpenJDK Runtime Environment                                          ║
     ║ Java version        : 21.0.2+13-58                                                         ║
     ║ Java home           : /home/jkuhn/Devel/jdk/jdk-21.0.2                                     ║
     ║                                                                                            ║
     ║ Application module  : io.inverno.guide.getting_started                                     ║
     ║ Application version : 1.0-SNAPSHOT                                                         ║
     ║ Application class   : io.inverno.guide.getting_started.App                                 ║
     ║                                                                                            ║
     ║ Modules             :                                                                      ║
     ║  * ...                                                                                     ║
     ║  * io.inverno.guide.getting_started@1.0-SNAPSHOT                                           ║
     ║  * ...                                                                                     ║
     ╚════════════════════════════════════════════════════════════════════════════════════════════╝


INFO Getting_started Starting Module io.inverno.guide.getting_started...
INFO Boot Starting Module io.inverno.mod.boot...
INFO Boot Module io.inverno.mod.boot started in 276ms
INFO Server Starting Module io.inverno.mod.web.server...
INFO Server Starting Module io.inverno.mod.http.server...
INFO Base Starting Module io.inverno.mod.http.base...
INFO Base Module io.inverno.mod.http.base started in 4ms
INFO Base Starting Module io.inverno.mod.web.base...
INFO Base Starting Module io.inverno.mod.http.base...
INFO Base Module io.inverno.mod.http.base started in 0ms
INFO Base Module io.inverno.mod.web.base started in 1ms
INFO HttpServer HTTP Server (nio) listening on http://0.0.0.0:8080
INFO Server Module io.inverno.mod.http.server started in 68ms
INFO Server Module io.inverno.mod.web.server started in 68ms
INFO Getting_started Module io.inverno.guide.getting_started started in 399ms
INFO Application Application io.inverno.guide.getting_started started in 460ms
A Web server has been started listening on port 8080, you can now test the /hello endpoint:
Using curl in a terminal:
$ curl -i http://localhost:8080/hello
HTTP/1.1 200 OK
content-length: 13

Hello, world!
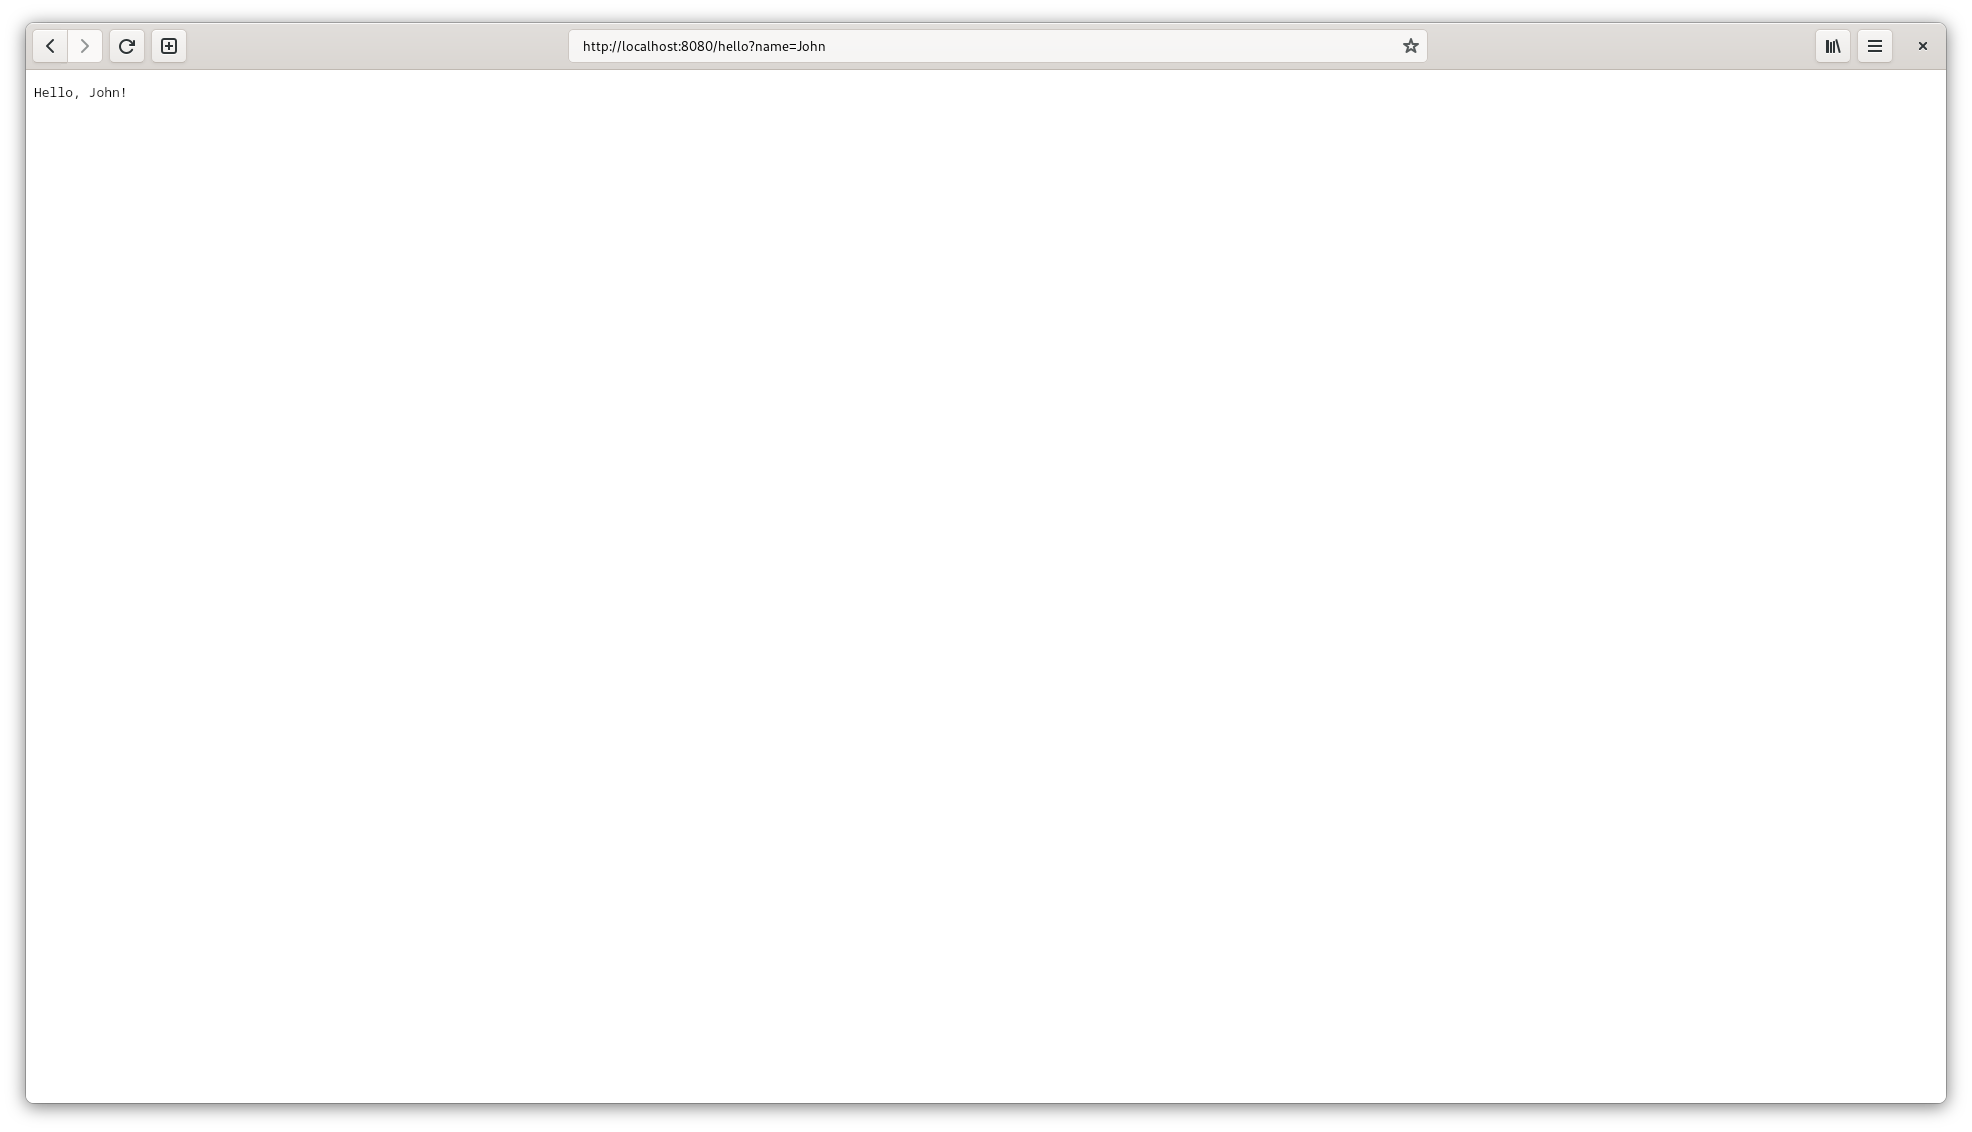
Using a Web browser pointing to http://localhost:8080/hello?name=John:
Step 5: Package and deploy the application
You can package the application into a native platform dependent image containing a Java runtime with the exact dependencies needed by the application and deploy it as a zip archive to your local Maven repository or eventually to a remote repository:
$ mvn inverno:package-app install -Dinverno.runtime.archiveFormats=zip
Then you can install the application on any compatible platform by downloading and unpacking the application image using Maven dependency plugin:
$ mvn dependency:unpack -Dartifact=io.inverno.guide:getting-started:1.0-SNAPSHOT:zip:application_linux_amd64 -DoutputDirectory=./
You can run it using a native command:
$ ./getting-started-1.0-SNAPSHOT/bin/getting-started
Congratulations! You've just built and deployed your first Inverno application.